If you’re serious about capturing all of the potential traffic and visitors using search engines to find a local business like yours, then you need to set up and claim your business listings on Bing. Bing’s market share in search engines is growing. Even if it’s small, it represents a market share that local businesses and their digital marketers can’t ignore. In this article, we’re going to walk you through exactly how to set up your business listings in Bing. The process is almost the same one as it is for setting up your Google My Business Listing. If you haven’t optimized your listing on Google, we show you how.
If you already have a handle on your GMB listings, then it’s even easier for you. Bing has a way to import all of your info straight from Google My Business. Go to the bottom of this post to learn how to import all of your Google My Business listings into your Bing places for businesses. Otherwise, continue onward to learn how to set up and create your Bing listings from scratch.
Claiming your Bing Business listings
Before we try to set up your business listing, let’s check to see if it already exists or not. Simply search for your business in Bing.com
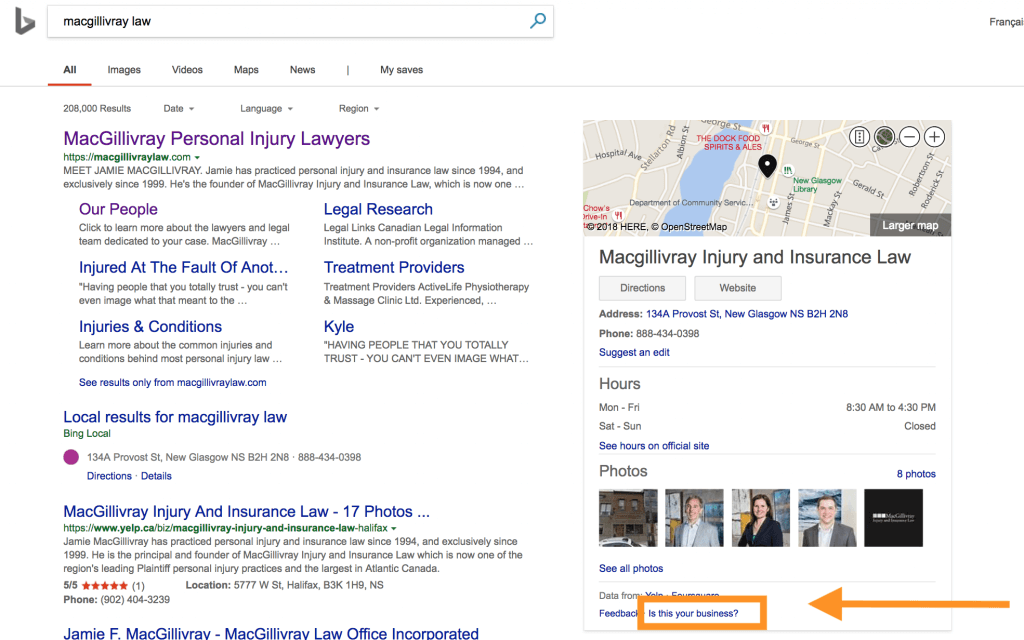
I just had to input the name of the business. Sometimes you can double check by entering “business name” + “city/town”. If you find your business listing like the one in the screenshot, then just click the link on the bottom that says “Is this your business?” to get started with the claim process.
Create a Bing Business listing if it doesn’t already exist
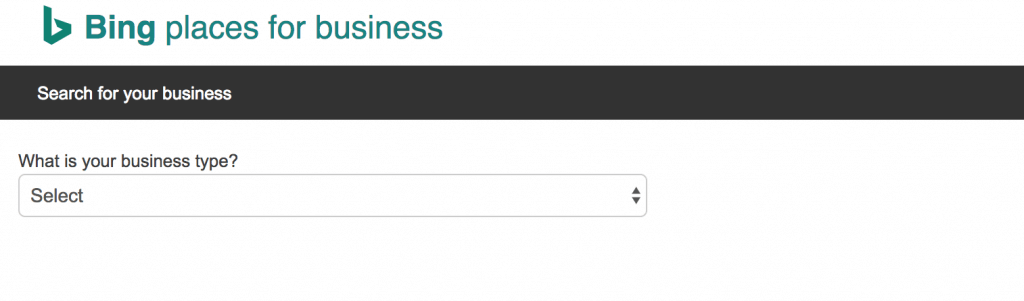
Assuming you followed the steps above and had no luck, just visit https://www.bingplaces.com/DashBoard/Home?from=HomePage to get started setting up your account. You’ll be shown a fairly blank screen until you select the size of your business. For most small local businesses, you’re going to select the first option (less than 10 locations). We’re going to show you the steps for setting that up.
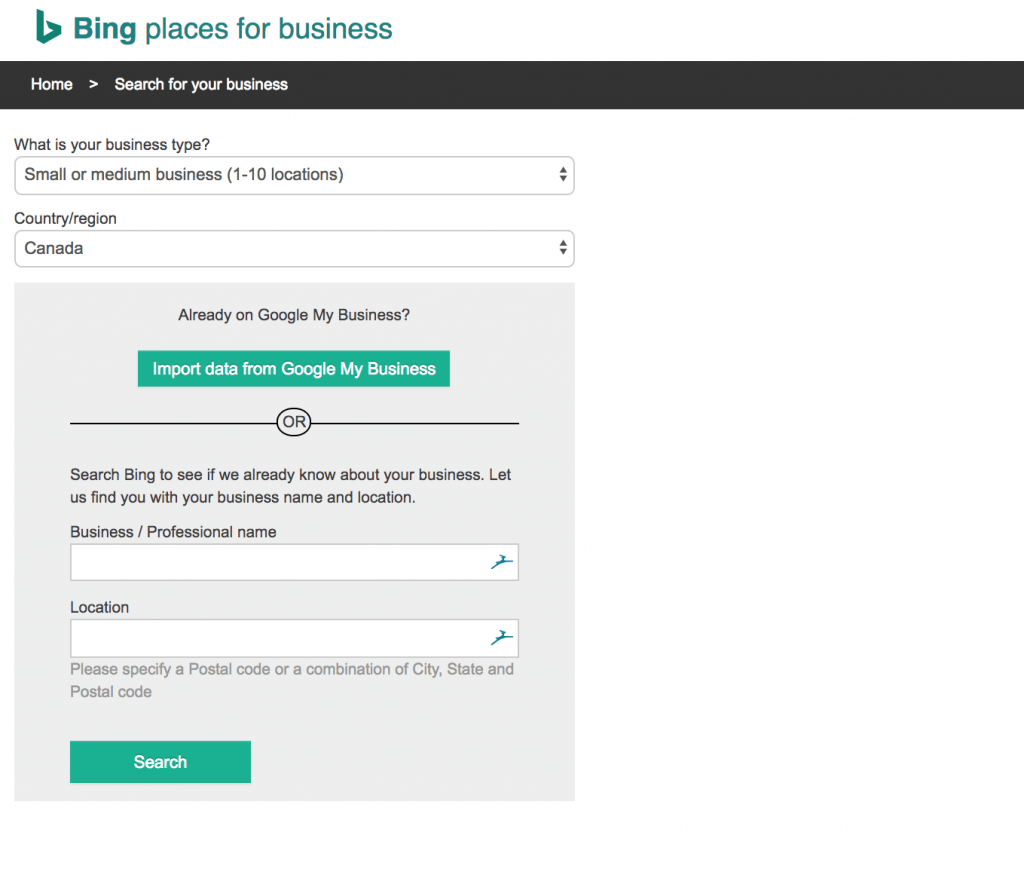
As we mentioned earlier, this is where you can opt in to import your data from Google My Business. We’ll assume you’re just setting things up from scratch. Enter the name of the business exactly as you want it to appear. Then, either the postal code or the city and state. Bing will do a site-wide search for any listings for that business that may already exist. (Even though we already checked ;)).
After this, it will show you a screen like this:

Click “create new business” and you will be redirected to a login window. You can choose to login with a Google or Microsoft account, it’s pretty simple and helps with the verification process. If you don’t have an account, just create one and you should get redirected to Bing places for business after. You should then be taken to a screen as shown below to fill out your business info.
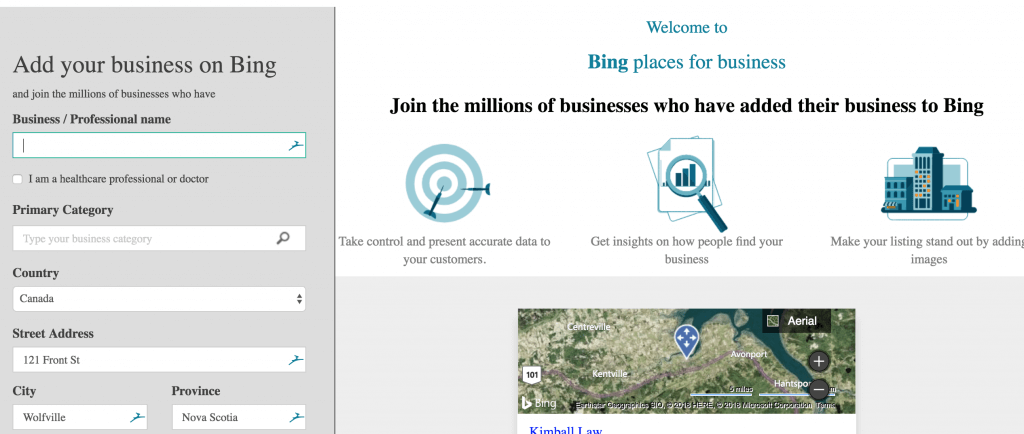
Here, you should fill out your business information exactly as it shows in Google. If you have Google My Business listings set up as it’s critical to keep your NAP info consistent.
You’ll be taken through a few more screens to add all the available attributes for your listing. The more complete your listing, the more it will satisfy Bing’s local search algorithm and provide you valuable visibility to prospects searching for a business like yours.
Fill out the business’s details
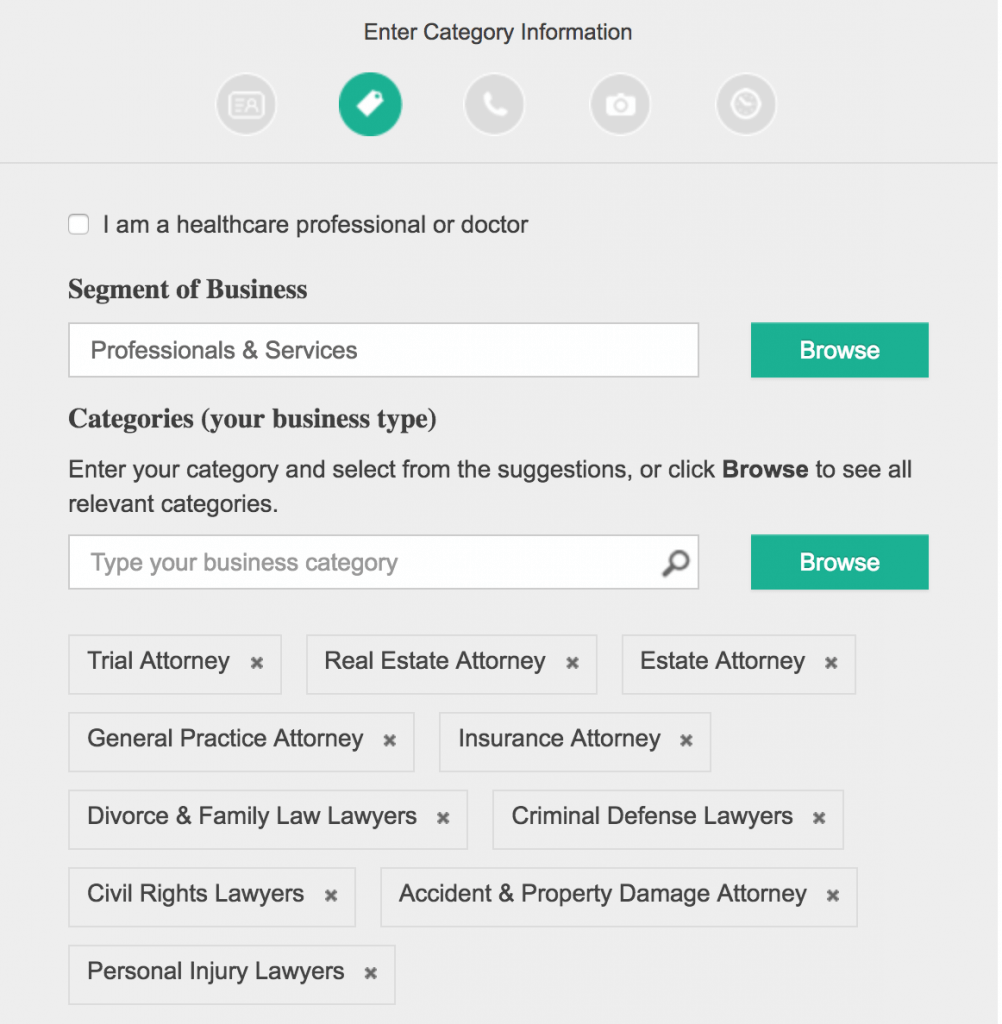
This is where you’ll fill out category information including the type of business (type of product, store, service, professional service, etc.), business/service categories, primary category, bio / brief about the business and whether or not customers visit your address or not.
Whether or Not to Show Physical Address
If you’re in a business like plumbing, your usually going to select the No option as you’re going to travel to them. If you’re a mechanic, then all of your customers are coming to you and hence you’ll check yes. There are going to be in-between cases where you’re a lawyer, florist, pizzeria or otherwise. In the industries, businesses usually welcome customers at their store or location. But also deliver to customers or come to them. In these cases, you should click yes and allow them to see your address anyway.
Categories and Primary Category
Enter in as many categories as you want for your location. This should describe all of the services that you either offer or want to promote. At the end of the day, I only insert the services that we are looking to promote.
We work with law firms and tend to find that while a lot of small firms are general practices or full-service firms, they still have an idea on a set of cases that they would like to focus there advertising efforts on; whether its one type of law or several.
So I only add those services to the list that they would like to promote. I rather not spread my SEO juice too thin if I don’t have to. The more categories you add, the more you want the Bings and Googles of the world to rank you for every single thing out there. And you tend to do better than not when your business focuses or specializes on a narrow set of services or offerings. Same is true in law firm marketing and SEO.
You can then select a primary category. Don’t overthink and just make it clear what your bread and butter are. Fill out whichever one you would really like to be known for. You’ll still have a good chance for ranking in the local map pack in Bing for the other categories we talked about above.
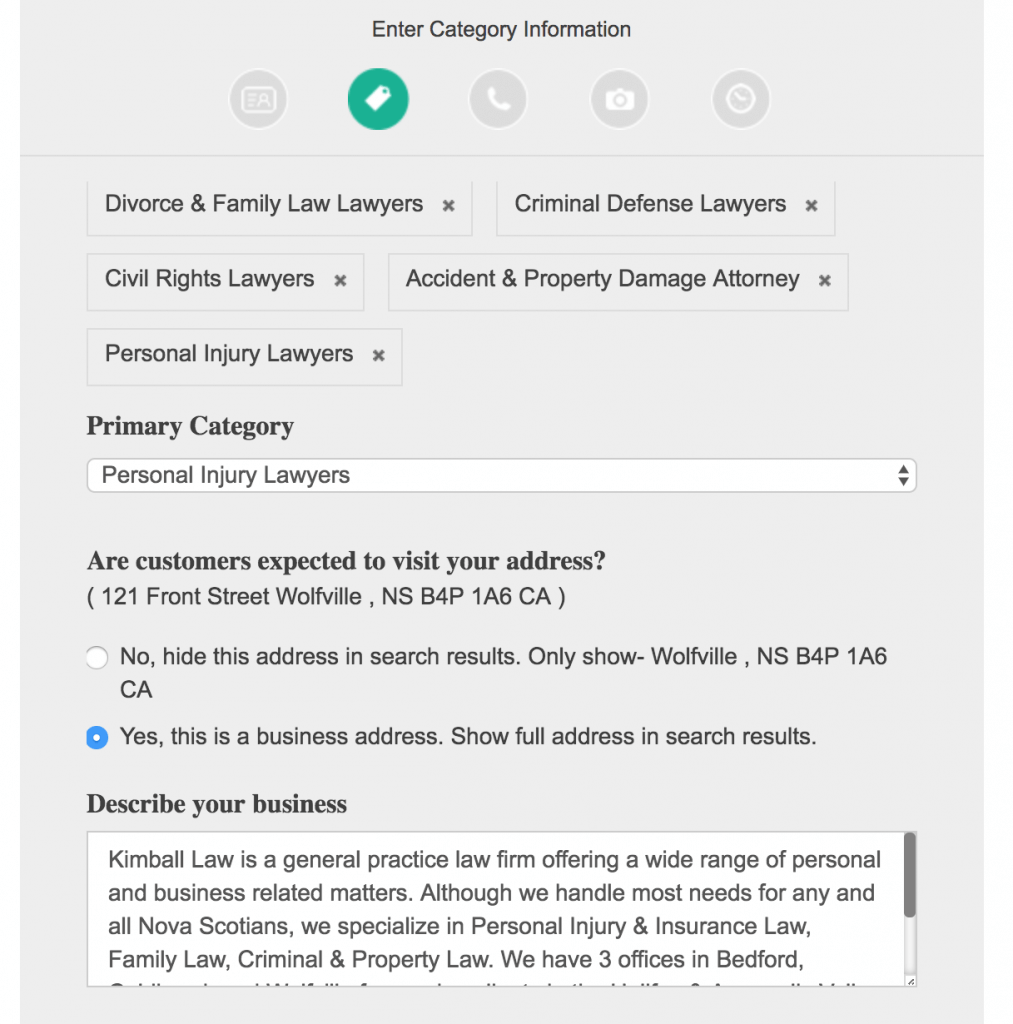
The last thing to do is fill out a description in a brief bio about your business. It’s always best practice to write fresh copy. But even Bing has a way to copy and paste the description from your Google My Business listing.
Add your Contact Details and Social Profiles
Step 3 wants you to fill out your contact details and your social profiles and listings. This includes your Facebook page, Twitter, Yelp and Trip Advisor. I doubt many businesses will have all 4 but you should fill out all of the URLs for the available options you have.
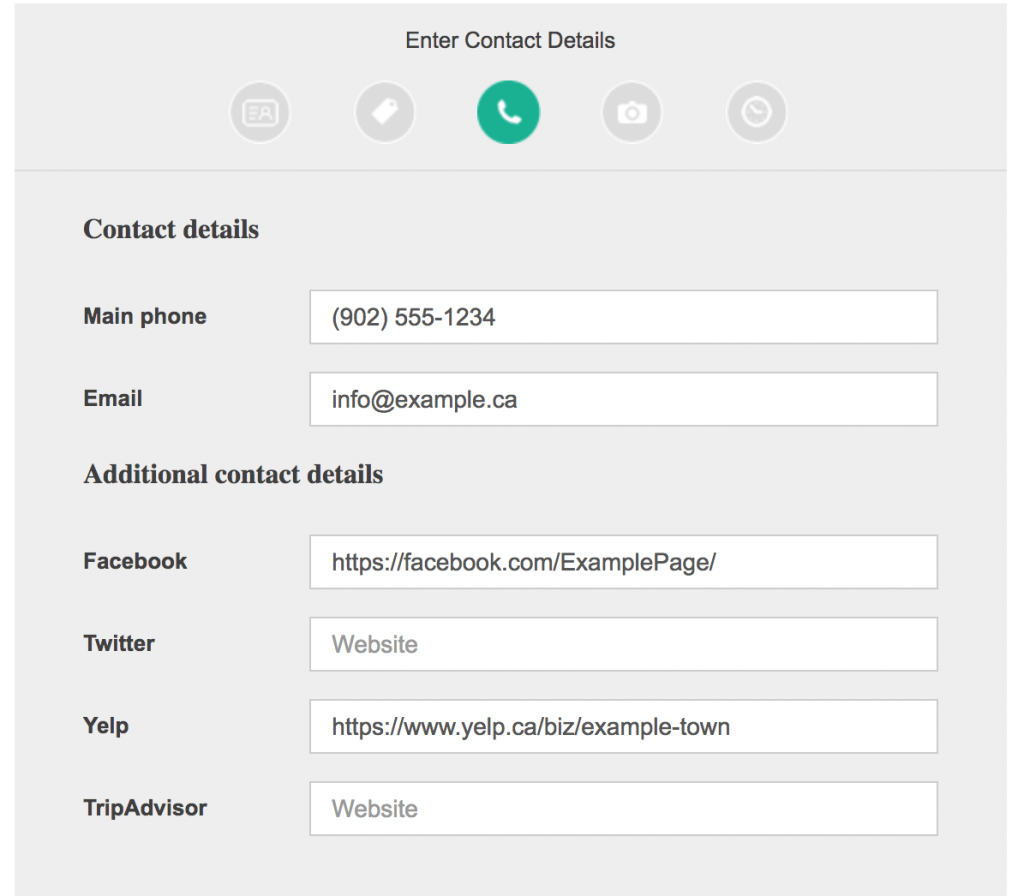
We only have Facebook and Yelp pages (that we are aware of / actively use) and so have added them in here.
Make Sure to Add Photos
It’s pretty important to add some photos for your business. Bing allows you to actually tag each photo with 1 of the 4 options: logo, interior, exterior or other.
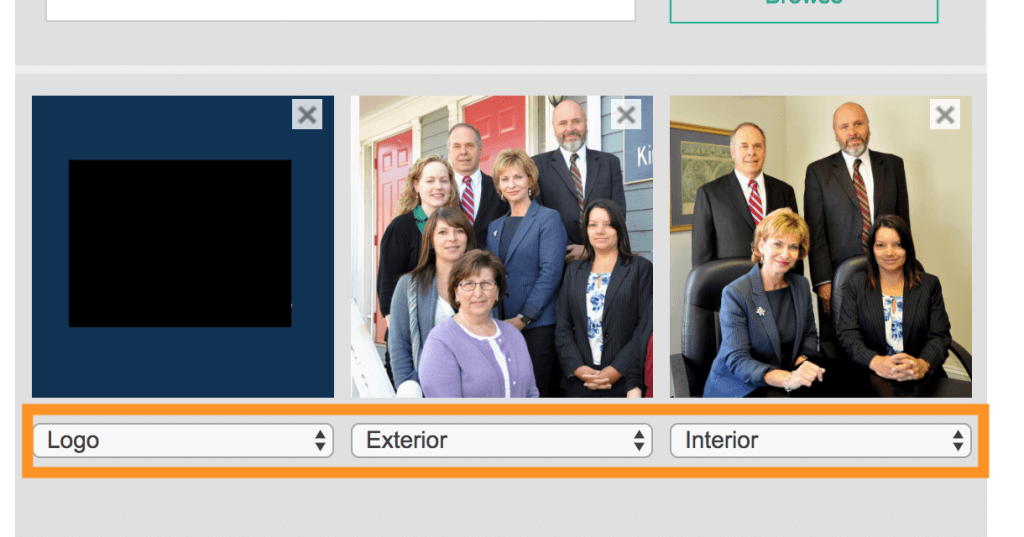
I actually recommend you add 5 photos of your business to your listing. Team photos are great, your logo and shots of inside and outside the office are great, but at the very least on Bing, you should upload 1 photo for each of the 3 specific categories (logo, interior and exterior). In the example below, I have added the logo (which I blurted out) as well as a team shot both inside and outside the office and just labeled them accordingly.
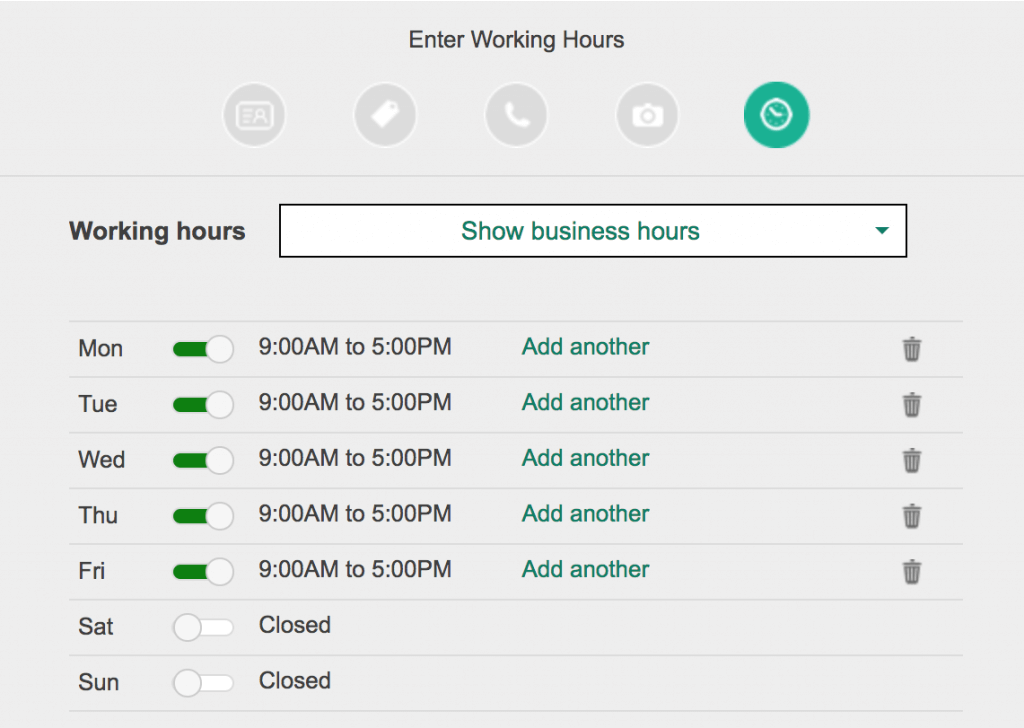
Add your Business Hours
Now hours is a little bit of a funny subject depending on the nature of your business and what type of office / store location this is. For 9 out of 10 businesses, you’re going to be fine and just enter in your usual hours whether 9 to 5 or otherwise.
I mentioned earlier that we work with law firms doing all their marketing and this stuff. A lot of them will have remote or satellite offices (aka by appointment only offices). Google’s listings allow you to apply it as a by appointment only office. But Bing doesn’t even give you the option. If this is your case, then you can select the “Skip” option from the Working hours dropdown menu. And while you should only enter the hours you work, you face a dilemma here.
In Google, for instance, we know that you’ll likely lose out the ranking opportunity in Google if your office is by appointment only and enough of your competitors’ listings have their listing hours listed. The problem is the search engines are trying to help you get listed, but they ultimately are loyal to the end-user. Not the businesses trying to rank in their search engine when people are searching for “your business keyword” + “city/town”.
So I’m not going to tell you what to do. Do what you’re comfortable with, because I think its unfair what the search engines do to businesses sometimes. I personally believe they meddle in ways they don’t understand and are creating unfair advantages based on whether or not Business A is open more often or not than Business B. Not based on quality of service, the values a business operates by. So do what makes you comfortable, because it’s your business, but I think it’s important for you to be well informed on how this will effect your visibility in the search engines’ algorithms.
Finished
So we have finally finished! Woohoo. If you are now wondering how to get reviews on your Bing listing, then you’re going to want make sure you filled out your Yelp listing URL earlier in your listing setup and make sure to get those Yelp reviews! Good luck with your SEO and digital marketing efforts for your law firm or business!